There’s something special about a notebook or journal that’s been personalized. Whether you use it to jot down daily thoughts, keep track of ideas, or document your travels, a customized cover makes it truly yours.
Block printing is one of my favorite ways to add that personal touch, and in this post, I want to show you how you can transform a plain notebook into a stunning, one-of-a-kind creation.
WHY BLOCK PRINTING?
Block printing is a versatile and accessible technique that anyone can master. With just a few basic supplies, like a stamp and an ink pad —you can create designs that reflect your personality, interests, or even memories from a special trip.
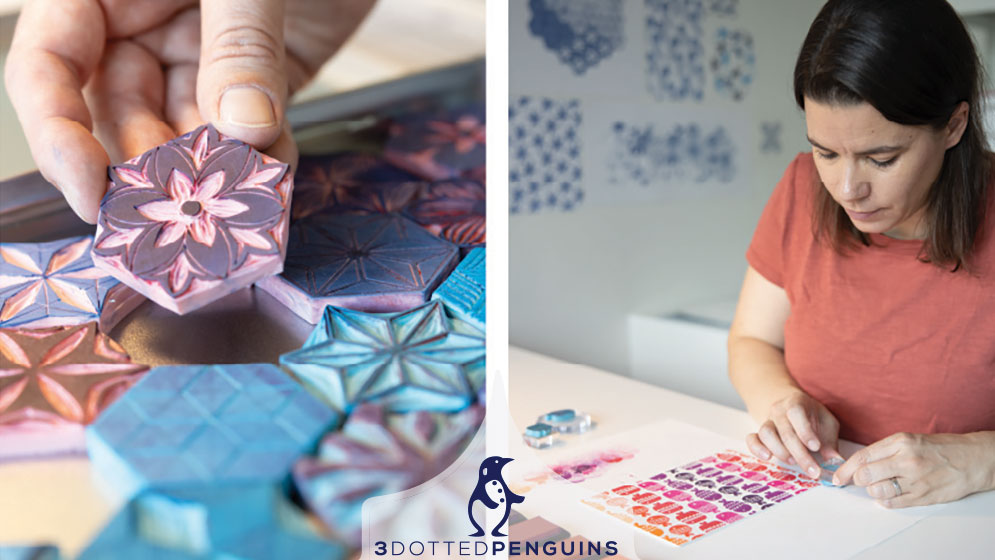
The beauty of block printing is that it’s both simple and endlessly customizable. You can work with pre-made stamps or carve your own for a truly unique result.
GETTING STARTED: WHAT YOU WILL NEED
For this project, you’ll need:
A notebook or journal with a cover that’s suitable for printing. While glossy surfaces can be tricky (and you will need special inkpads to print on them), most paper or cardboard covers work great.
An ink pad in your preferred color
A stamp that speaks to you. You can use a store-bought stamp, a hand-carved stamp you already have or carve your own.
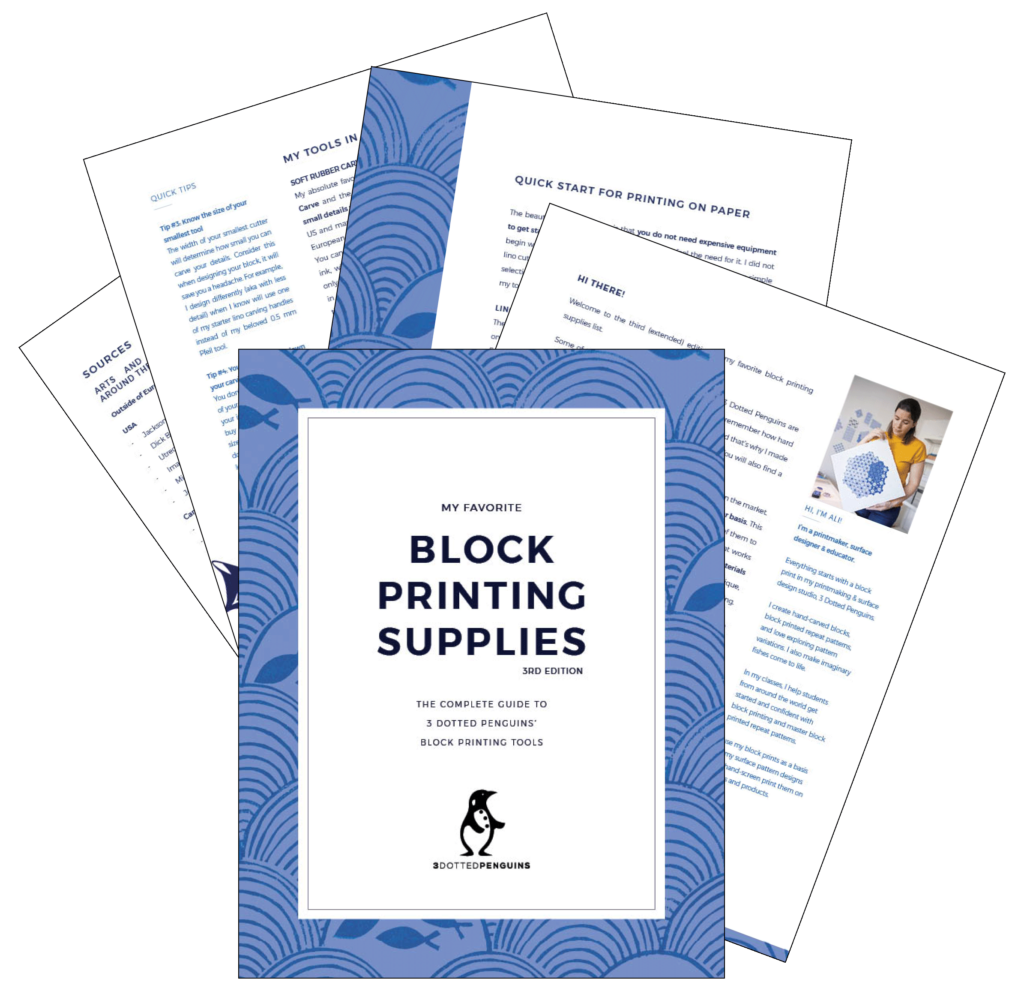
For carving your own stamps, you will also need a drawing of your stamp idea, soft carving material and lino carving tools. If you’re new to stamp carving, don’t worry—there are plenty of resources to help you get started, including this free supplies guide or step-by-step classes.
AN EXAMPLE: MY TRAVEL JOURNAL
To give you an idea of what’s possible, I’ll share a recent project where I personalized the cover of my travel journal. While this example is travel-themed, the techniques I’ll discuss can be applied to any kind of notebook or journal.
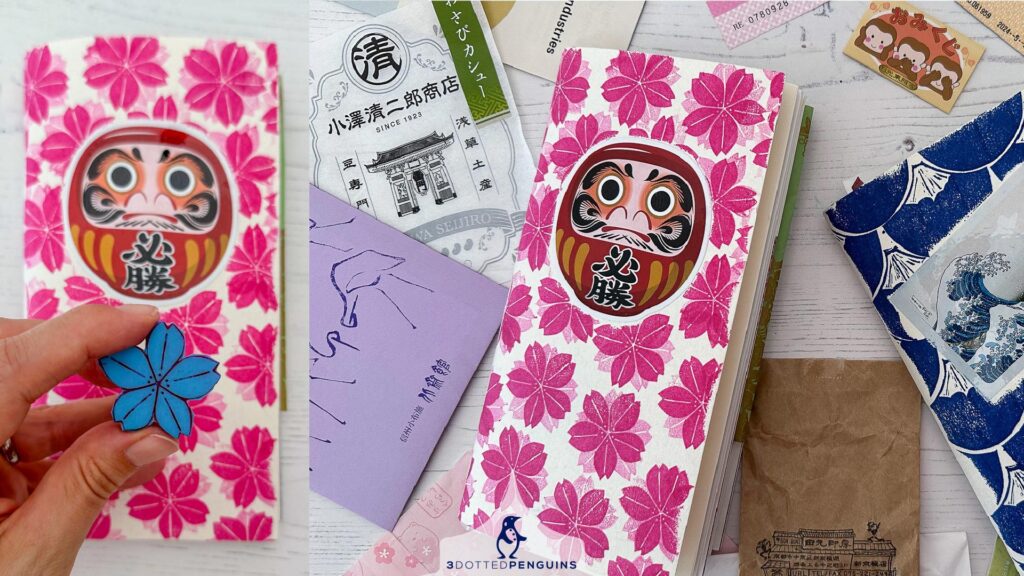
On a trip to Japan, I kept multiple journals, one with sketches and a few more filled with mostly memorabilia. When I got home, I wanted the cover to reflect the memories inside. I decided to block print a design using a cherry blossom stamp I carved based on my experiences in Osaka during cherry blossom season. The process was straightforward, and the result was a cover that’s as meaningful as the journal’s contents.
STEP-BY-STEP: BLOCK PRINTING YOUR COVER
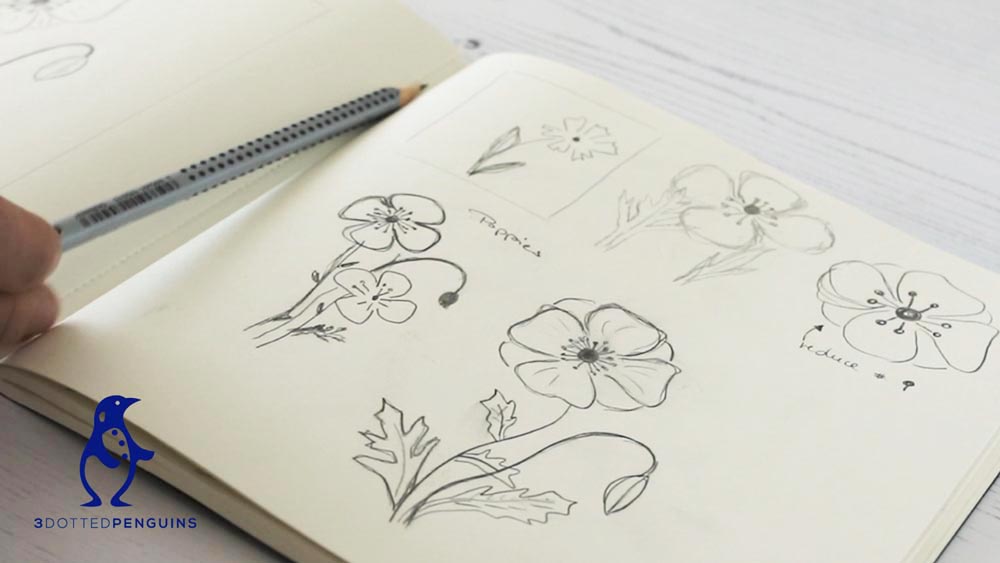
Choose Your Design: Think about what you want your cover to represent. It could be something as simple as a pattern you love, a symbol that holds meaning for you, or a motif from a recent trip. If you’re using a pre-made stamp, select one that resonates with you, lifts you up or stands for the content of your journal or notebook. If you’re carving your own, you have all the possibilities and make your journal cover design truly yours. Start by sketching out a design and then carve your stamp.
Select Your Ink: The color of your ink can dramatically change the look of your cover. Test different shades to see what contrasts best with your notebook cover. For my travel journal, I ended up choosing a dark pink ink to make the cherry blossoms stand out against the paper.
Plan Your Print: Before you start printing your cover, start with getting a feeling for the design and the placement of the impressions by making some test prints on a separate piece of paper. Once you are clear on how you want your cover pattern to look, you are ready to get working on the cover.
Block Print the Cover: When you’re ready, start printing on your notebook cover. Reference your test print if needed. If your design involves a large area, work slowly and methodically, especially around the edges and any existing elements like stickers or text. Take breaks when needed
Attention to Detail: If you’re working around existing designs on the cover, like I did with a sticker on my journal, you may need to mask off areas to keep them ink-free. A light painter’s tape works great for this. Once your design is complete, allow the ink to dry fully before handling the notebook.
MAKE IT YOUR OWN
The best part of block printing is that no two projects are ever the same. You can create a series of notebooks with similar designs but in different colors, or you can go completely wild and make each one a standalone piece of art. These personalized notebooks also make wonderful gifts, adding an extra touch of thoughtfulness.
Remember, the key to a great block-printed cover is to let your creativity flow. Whether you’re documenting travels, daily life, or creative ideas, a beautifully printed cover sets the tone for whatever you plan to fill those pages with.
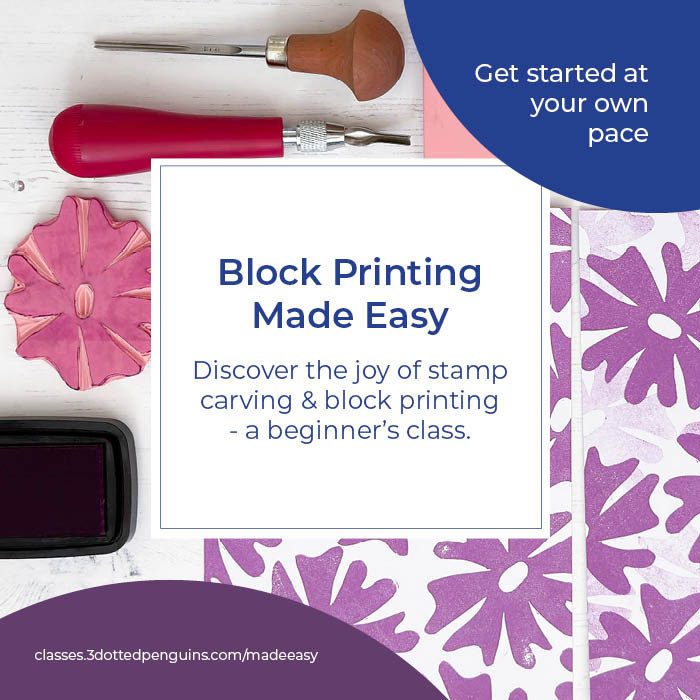
LEARN BLOCK PRINTING
Get started with block printing or dive deep into the world of block-printed repeat patterns in one of my online classes or workshops.

No Comments